Cut-Off Road
Originally posted to El Cantar de la Lluvia on Tuesday, November 14, 2006
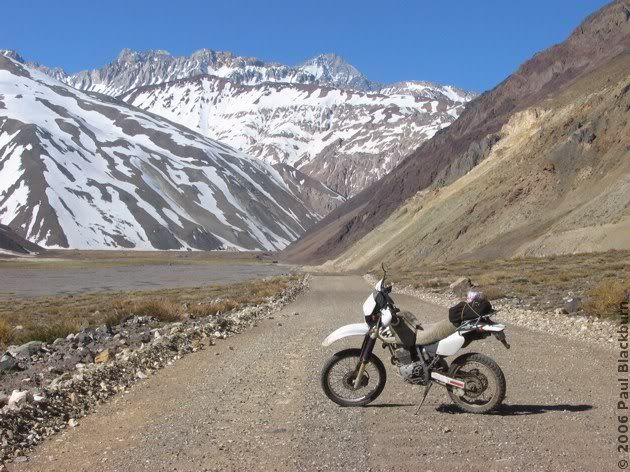
It's been a while since I've been back to Termas Del Plomo, and a month or so ago I was curious to see if I could still get all the way up to the hot springs, or if there'd be too much snow around. Both previous trips, to the springs and to the mine, were done before the winter rains came, and I frankly wasn't too optimistic about getting all the way to the end.
So I set off on a nice day, to see what I found.
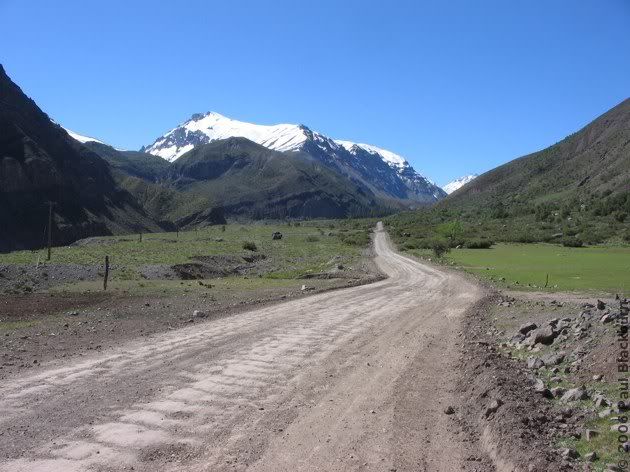
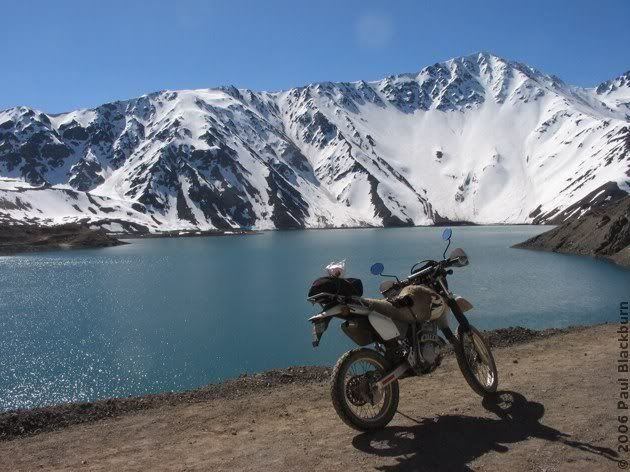
The snow was receding from the hilltops.
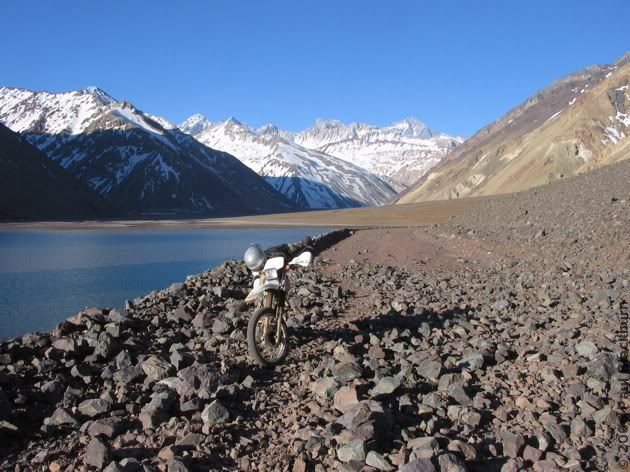
Though it still was all the way down to the shoreline at the Embalse El Yeso.
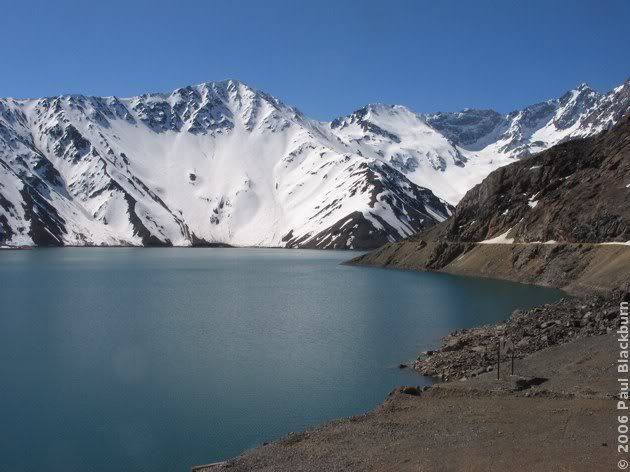
As a point of comparison, here's a pic of the same place, in autum.
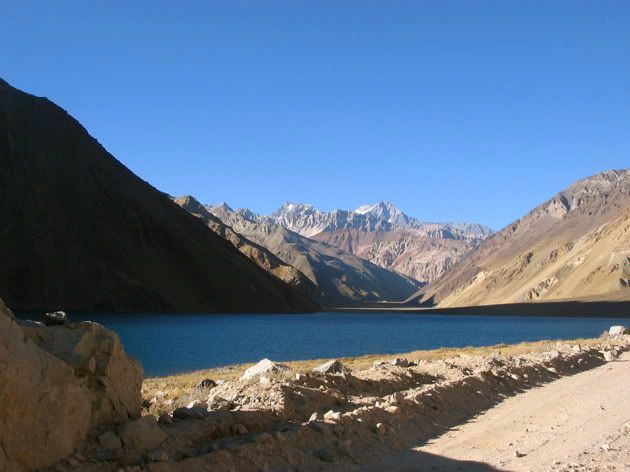
I was happily riding around the perimeter of the Embalse El Yeso, following the narrow stony road that follows the hill's sinuous folds, when I came to the spot just opposite the dam's main wall, a long stretch of uphill straight road. There were ten or fifteen cars and pickups parked to one side of the road, and people were milling about. Strange. I carried on slowly, and when I got to the last car, I understood. There had been a rockslide, and some giant boulders had blocked the road. All those cars were of people who had decided to come up here for a breath of fresh air with their families, probably at the hot springs, but instead of that, they got to walk around and do most nothing at all.
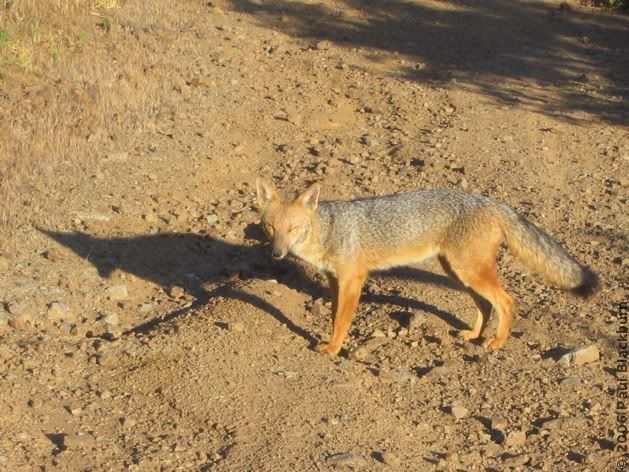
Thanks to the wonderful things that are motorbikes, I just rolled through the gap between two boulders. On the other side, a family going for a walk. And a chilean fox!

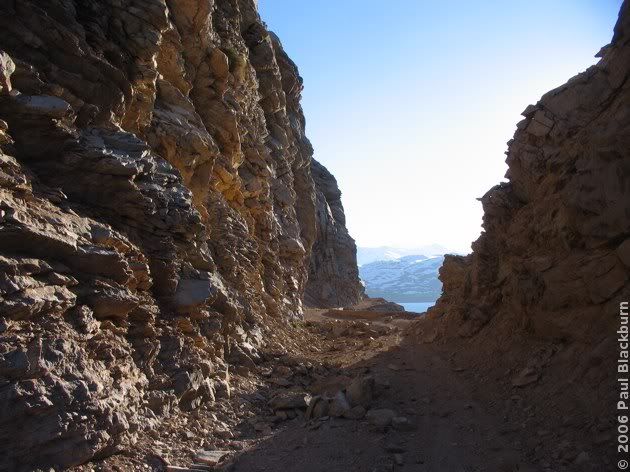
The scene on the other side of the landslide was rather strange. While the dirt road before that point had been quite normal, in a useable state, here, where no vehicle had come since autumn, it almost looked like there was no road at all.
What I mean is, there was a road all right, at least the flat surface of one, but it was completely covered in small, and sometimes not so small, angular rocks.
Square rocks. I hate them. They make riding quite hard.
When faced with this type of terrain, I am forced to lower both feet, ready for a stone that will make me tip this way or that. And sometimes an unexpected bounce grants you a rather unwelcome session of testicular trauma. :-(
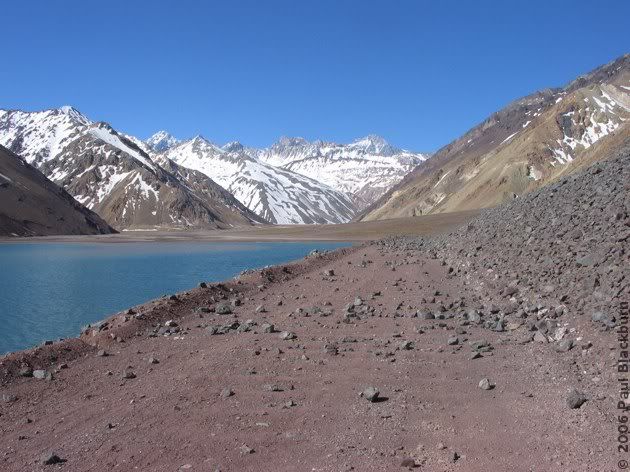
Happily, once the road had separated from the hillside, I was able to ride calmly again.
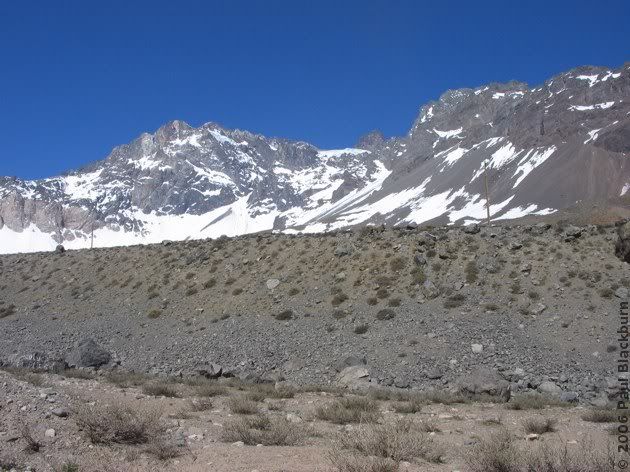
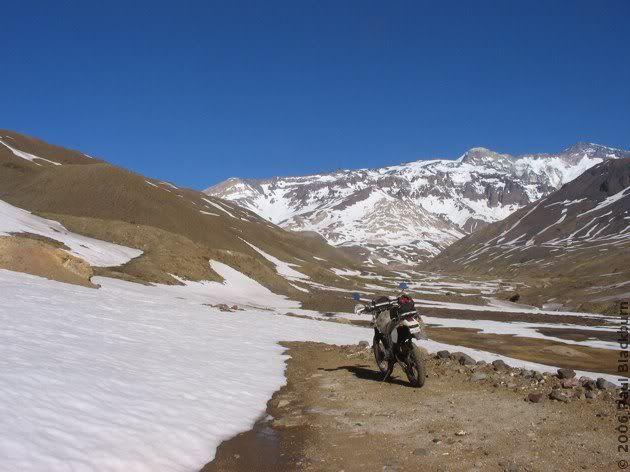
In the center of the pic, you can barely see the trail that I attempted to follow on the ride to the mine, but this time it's covered in snow. On that occasion, snow ended my explorations prematurely; I'll have to come back in mid-summer to see where it leads.

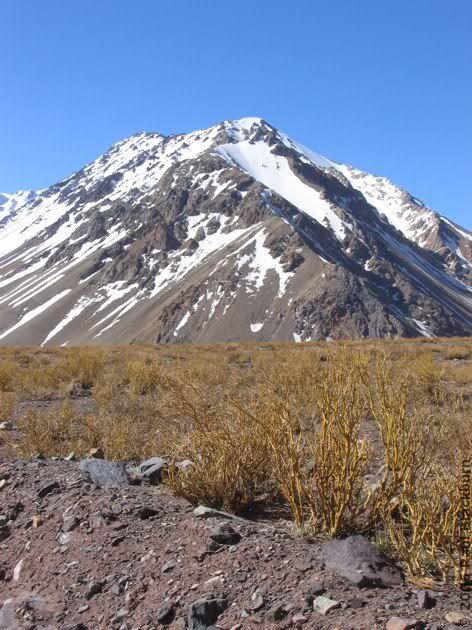
And so, almost predictably, snow was to be my ride-ender this time, as well. I'd say I was two or three km short of the springs.
The great thing about the landslide was that it sealed off the Cajón: I had it all to myself. There was clearly no other vehicle past the rocks today. There were some old tracks made by larger trail bikes, but nothing recent. Unless someone had decided to hike tens of kilometres on foot, I was completely alone. It was a strange feeling.

I stopped, and walked down to the river.
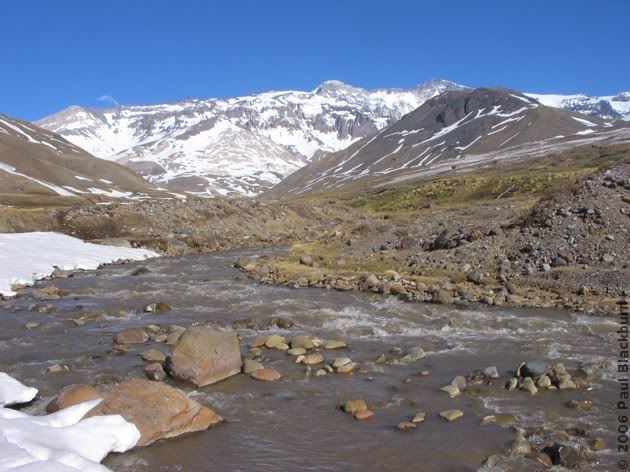
I sat and rested, and listened to the breeze, and sounds, for quite a while.
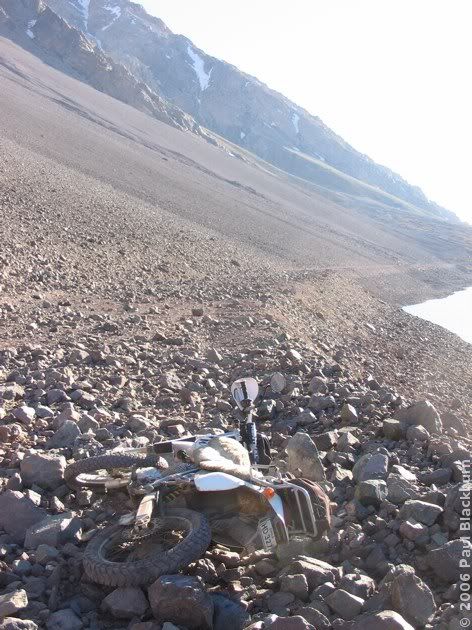
On the way back, I was less lucky as I crossed the rock-strewn sections of road.
First, the setting:

Second, the result:
Great. I picked the bike up. I took off my jacket, my helmet. It was hot. I started clearing a path. I had originally planned to clear no more than a few metres, but I soon was engrossed in the task, and its Zen nature took over. Before I realised what I had done, I had cleared a narrow 50 metre path. Here's the start of it.
Some post-apocalyptic movies have wonderful scenes of the deterioration and desolation of human creation. This road made me feel the same. I was impressed at how one single winter could cover the road with so many rocks. Clearly, keeping it unobstructed was constant work.
And after reflecting upon our passing mark on the world, and having made my very own Zen rock garden in the Andes, I rode home.
It's been a while since I've been back to Termas Del Plomo, and a month or so ago I was curious to see if I could still get all the way up to the hot springs, or if there'd be too much snow around. Both previous trips, to the springs and to the mine, were done before the winter rains came, and I frankly wasn't too optimistic about getting all the way to the end.
So I set off on a nice day, to see what I found.
The snow was receding from the hilltops.
Though it still was all the way down to the shoreline at the Embalse El Yeso.
As a point of comparison, here's a pic of the same place, in autum.
I was happily riding around the perimeter of the Embalse El Yeso, following the narrow stony road that follows the hill's sinuous folds, when I came to the spot just opposite the dam's main wall, a long stretch of uphill straight road. There were ten or fifteen cars and pickups parked to one side of the road, and people were milling about. Strange. I carried on slowly, and when I got to the last car, I understood. There had been a rockslide, and some giant boulders had blocked the road. All those cars were of people who had decided to come up here for a breath of fresh air with their families, probably at the hot springs, but instead of that, they got to walk around and do most nothing at all.
Thanks to the wonderful things that are motorbikes, I just rolled through the gap between two boulders. On the other side, a family going for a walk. And a chilean fox!
The scene on the other side of the landslide was rather strange. While the dirt road before that point had been quite normal, in a useable state, here, where no vehicle had come since autumn, it almost looked like there was no road at all.
What I mean is, there was a road all right, at least the flat surface of one, but it was completely covered in small, and sometimes not so small, angular rocks.
Square rocks. I hate them. They make riding quite hard.
When faced with this type of terrain, I am forced to lower both feet, ready for a stone that will make me tip this way or that. And sometimes an unexpected bounce grants you a rather unwelcome session of testicular trauma. :-(
Happily, once the road had separated from the hillside, I was able to ride calmly again.
In the center of the pic, you can barely see the trail that I attempted to follow on the ride to the mine, but this time it's covered in snow. On that occasion, snow ended my explorations prematurely; I'll have to come back in mid-summer to see where it leads.
And so, almost predictably, snow was to be my ride-ender this time, as well. I'd say I was two or three km short of the springs.
The great thing about the landslide was that it sealed off the Cajón: I had it all to myself. There was clearly no other vehicle past the rocks today. There were some old tracks made by larger trail bikes, but nothing recent. Unless someone had decided to hike tens of kilometres on foot, I was completely alone. It was a strange feeling.
I stopped, and walked down to the river.
I sat and rested, and listened to the breeze, and sounds, for quite a while.
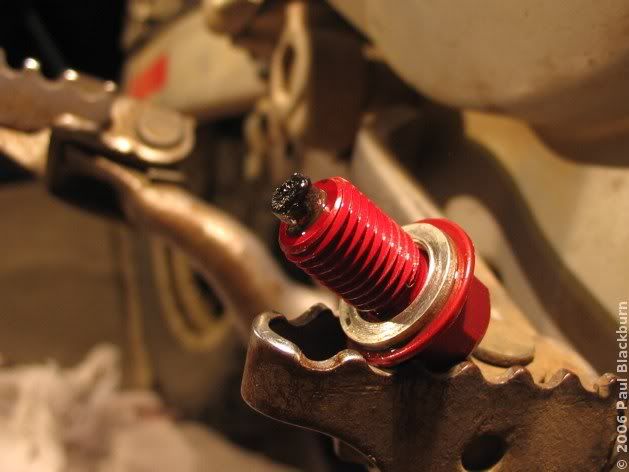
On the way back, I was less lucky as I crossed the rock-strewn sections of road.
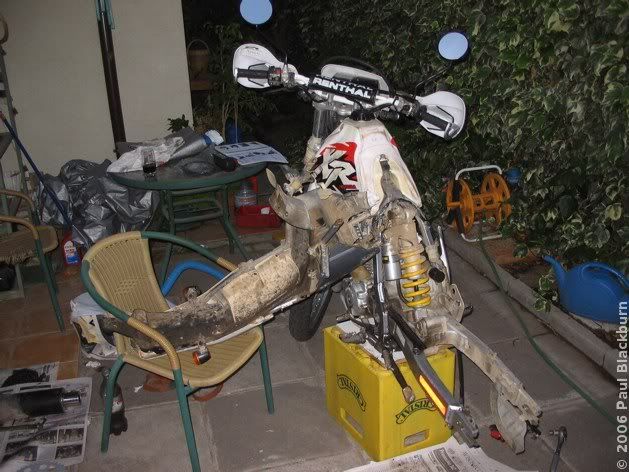
First, the setting:
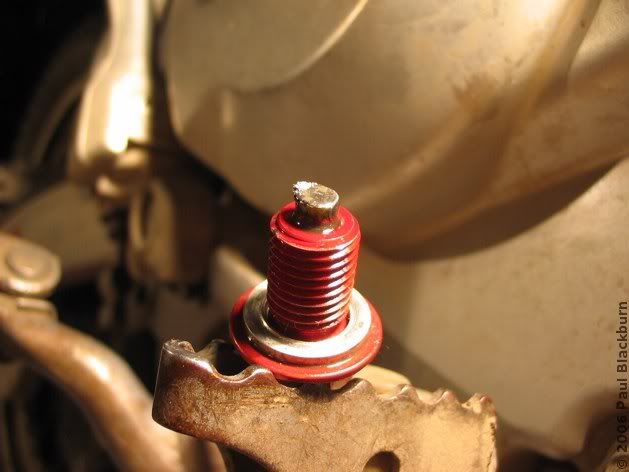
Second, the result:
Great. I picked the bike up. I took off my jacket, my helmet. It was hot. I started clearing a path. I had originally planned to clear no more than a few metres, but I soon was engrossed in the task, and its Zen nature took over. Before I realised what I had done, I had cleared a narrow 50 metre path. Here's the start of it.
Some post-apocalyptic movies have wonderful scenes of the deterioration and desolation of human creation. This road made me feel the same. I was impressed at how one single winter could cover the road with so many rocks. Clearly, keeping it unobstructed was constant work.
And after reflecting upon our passing mark on the world, and having made my very own Zen rock garden in the Andes, I rode home.
Labels: cajondelmaipo, rides
posted by durandal at 9:16 AM
0 comments
![]()


 The Lagoons of the Santuario de la Naturaleza 2: Laguna Los Ángeles
 Race Day At Leyda 4
 El Tabo and the Central Hidroeléctrica El Sauce
 Exploring The Hills Around Lampa
 A Different Route To Baños De Colina
 The Mines of the Cuesta La Dormida
 The Frozen Lagoons of the Santuario de la Naturaleza
 Second Mass Demonstration "For A Fair Tag"
 First Mass Demonstration Against The 'Tag'
 Enduro In Lagunillas
 Embalse El Yeso and Termas Del Plomo
 Ride To Peñuelas
 Cerro Chena
 Race Day at Leyda 3
 Baños de Colina 2
 Carretera Austral: Epilogue
 The Little Giant and Termas del Plomo
 Back on Two Wheels
 2006 Photographic Retrospective
 Race Day At Leyda 2
  Quantum Optics III in Pucón
 Meseta In Chicureo
 Pick Up Your Beer Bottle And Fuck Off
  Planes And Hills
 Cut-Off Road
 Lagunillas
 Laguna Verde 2
 Ride To Anywhere But Aculeo
 Cerro El Roble, Second Attempt
 Baños De Colina
 Some Walk On Water...
 Race Day At Leyda
 Almost Cerro El Roble
 Off To Curacaví with Andrés
 La Serena, Part 3: Back To Santiago
  A Bull, Two Cows and a Chilean Fox
 Escape To Cuesta La Dormida
 Valve Adjustment
 La Serena, Part 2B: Valle Del Elqui
 La Serena, Part 2A: Coquimbo and La Recova
 Mud And Pine Trees
 La Serena, Part 1
 Pimp My Exhaust
 Ride To Laguna Verde
 Ride To La Mina
 Ride To Termas El Plomo
 Camping in Colliguay
 Ride To Portillo
 Ride To Olmué and Con Con
 Siete Tazas
 Watching The Departure Of The Day That Brought Me Here
 Buenos Aires Motorbikes
 Ride to Talca with the Adach Group
 Las Trancas '05
 Towers and Hills
 María Pinto, Melipilla, Aculeo
 Me and my Carb


